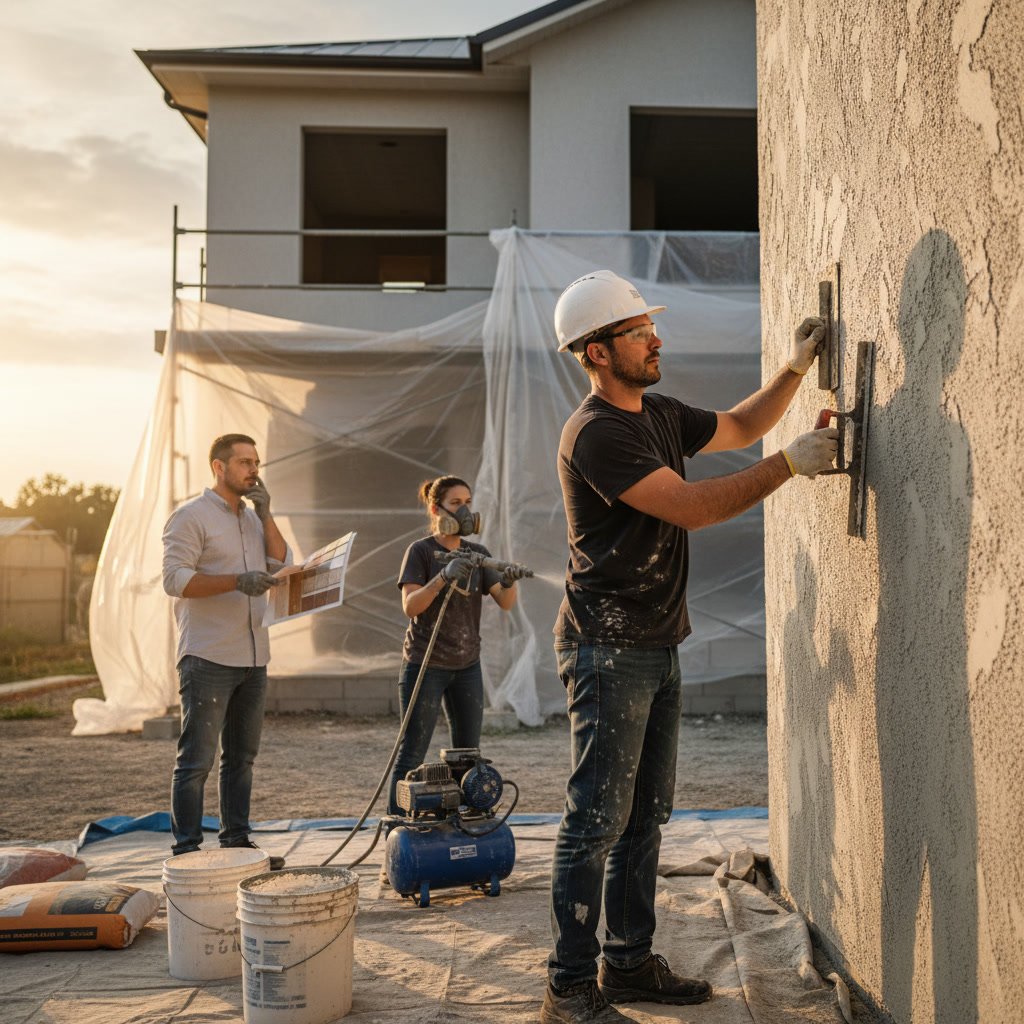
Texture coat application creates a durable, weather-resistant finish for exterior walls, but the process demands careful preparation, proper materials, and precise technique. Homeowners can handle small patch jobs and basic preparation work, while full installations require professional expertise to ensure proper adhesion, uniform coverage, and long-lasting results. Understanding where your abilities end and professional services begin helps you avoid costly mistakes and ensures your home’s exterior looks great for years.
Understanding What Texture Coat Actually Is
Texture coat is a cement-based coating applied over exterior walls to create a textured, protective finish. It serves both aesthetic and functional purposes, shielding walls from moisture, UV damage, and temperature fluctuations. The material typically contains Portland cement, sand, acrylic polymers, and pigments mixed to a specific consistency.
The coating thickness ranges from one-eighth to one-quarter inch depending on the desired texture pattern. Common patterns include smooth, lace, Spanish lace, and heavy knockdown. Each pattern requires different application techniques and tools.
Basic Prep Work You Can Tackle Yourself
Surface preparation accounts for roughly 70% of a successful texture coat job. You can handle several preparatory tasks that reduce overall project costs. Start by pressure washing exterior walls to remove dirt, mildew, and loose material. Use a 2,500 PSI pressure washer and maintain a 12-inch distance from the wall surface.
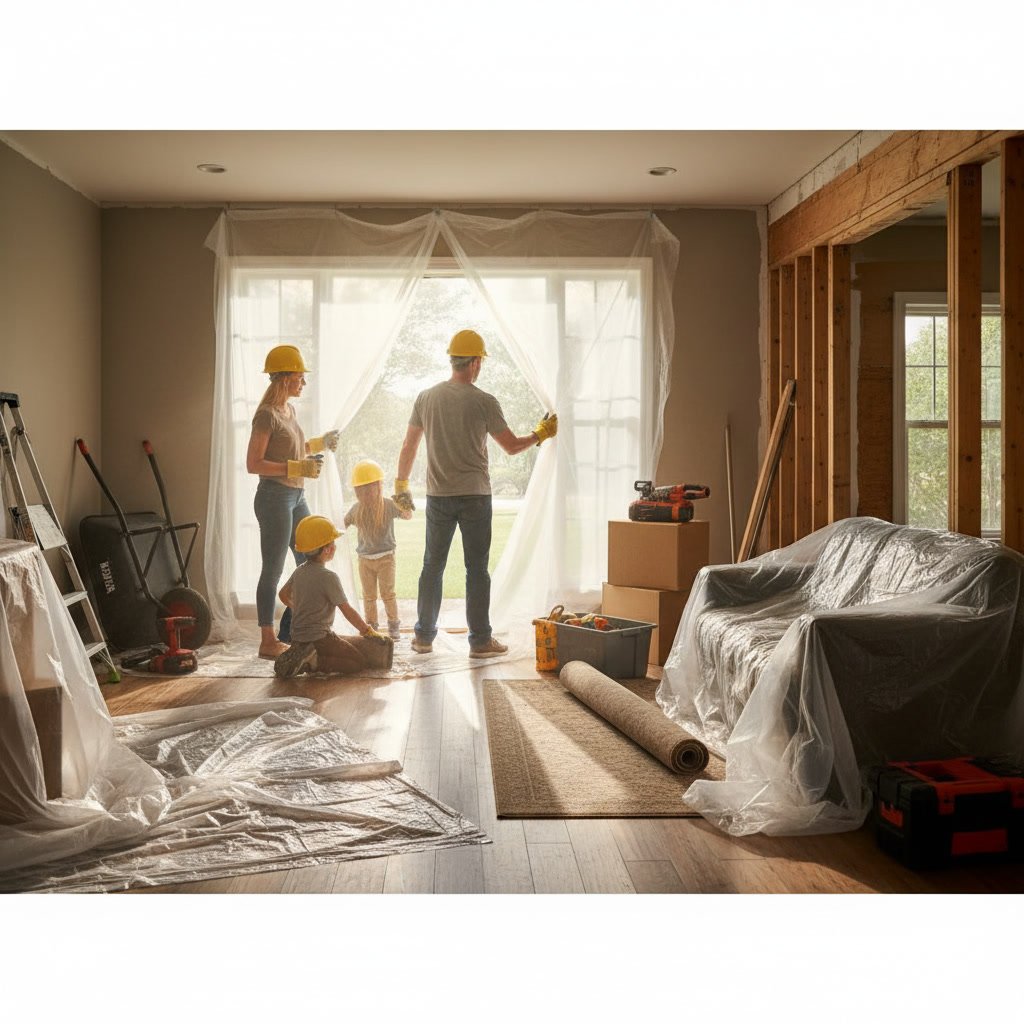
Remove any plants, fixtures, or decorations attached to walls. Cover windows, doors, and trim with plastic sheeting and painter’s tape. Inspect the surface for cracks wider than one-eighth inch and mark them for professional attention. Minor surface cleaning and masking falls within most homeowners’ skill sets, but don’t underestimate the time commitment. A typical 1,500 square foot exterior takes 6-8 hours of prep work.
Small Patch Jobs That Make Sense for DIY
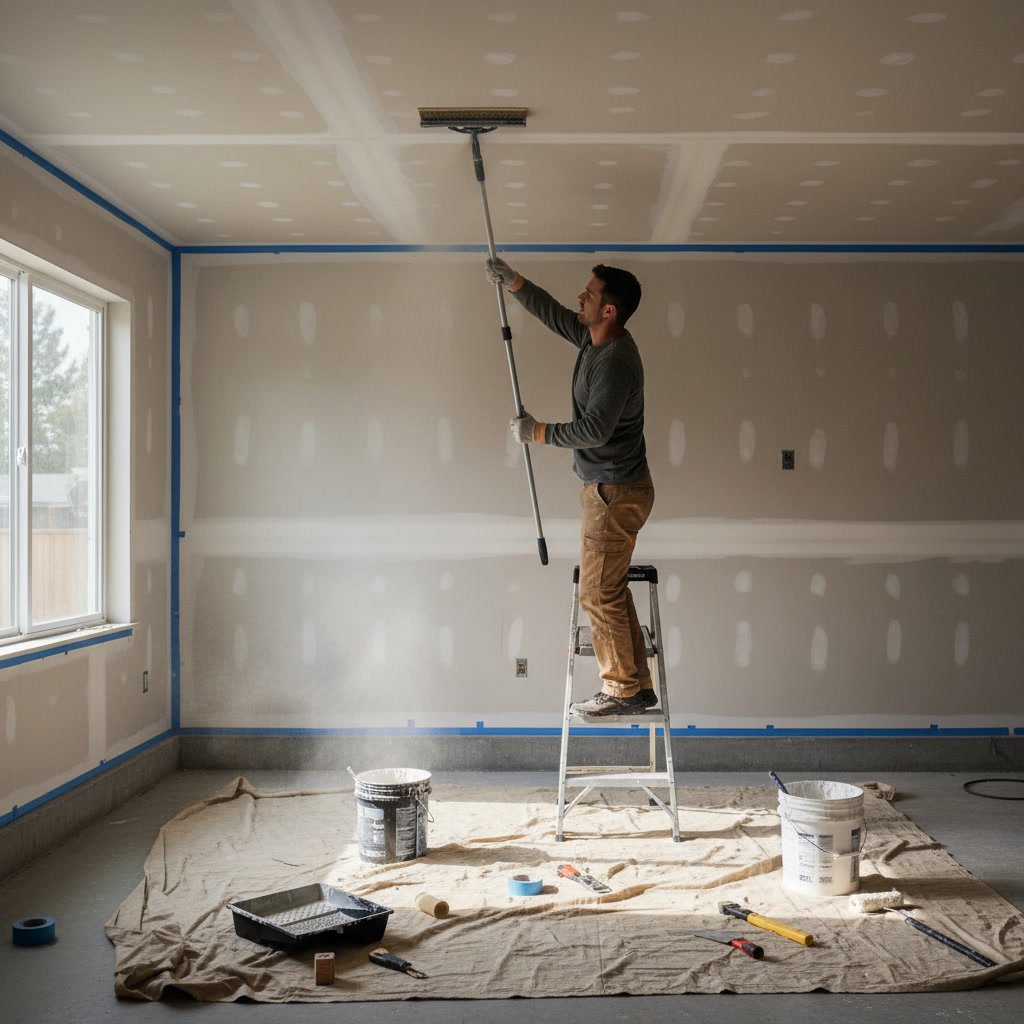
Patching small damaged areas under two square feet often makes sense for handy homeowners. Purchase pre-mixed texture coating from a home improvement store and match the existing texture pattern as closely as possible. Apply the patch with a trowel, feathering the edges to blend with surrounding areas.
The key challenge is matching both color and texture. Even slight variations become obvious once the patch dries. Practice your technique on scrap plywood before touching your home’s exterior. Allow patches to cure for at least 48 hours in moderate weather before painting.
Why Full Wall Applications Require Professional Expertise
Applying texture coat to entire walls demands specialized knowledge that most homeowners lack. Professionals understand how weather conditions affect application and curing. Temperature must stay between 40 and 90 degrees Fahrenheit during application and for 48 hours afterward. Humidity levels, wind speed, and direct sunlight all impact how the material sets.
Mixing ratios must be precise. Too much water creates runs and poor adhesion. Too little makes the material difficult to spread and leaves voids. Professionals use graduated mixing containers and follow manufacturer specifications exactly. They also know how to adjust for substrate porosity, which varies between different wall materials like plywood, OSB, concrete block, and existing stucco.
The Equipment Gap Between Homeowners and Professionals in Berkeley
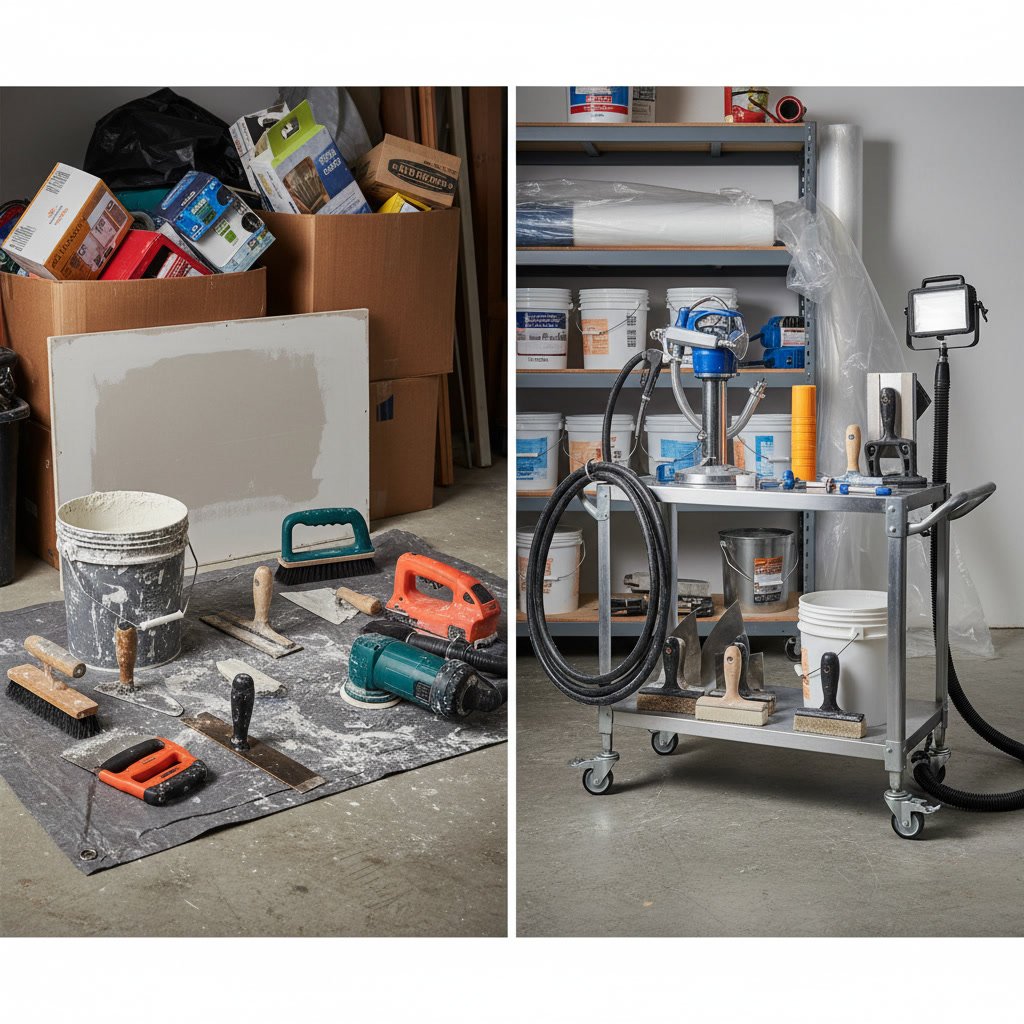
Professional texture coat crews use specialized equipment that most homeowners don’t own and can’t justify purchasing for a single project. Commercial-grade sprayers deliver consistent material flow and allow rapid coverage of large areas. These units cost between $800 and $3,000.
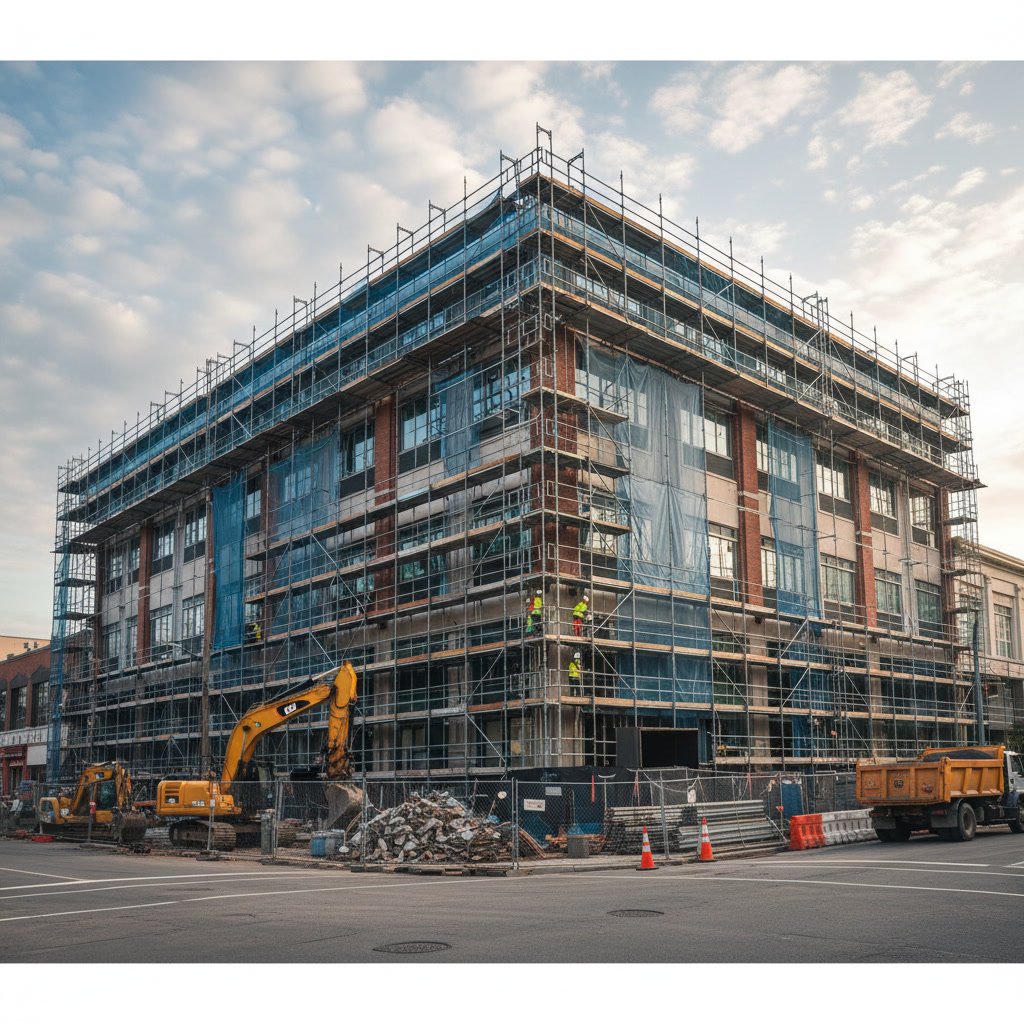
Professionals also use scaffolding systems that provide safe access to upper walls and allow proper working angles. Rented scaffolding for a two-story home runs $300-$500 per week. Add in professional-grade trowels, hawks, mixers, and safety equipment, and the investment becomes substantial. The learning curve for operating this equipment safely adds another layer of complexity.
Critical Mistakes That Cost More Than Hiring Professionals
Several common DIY mistakes turn into expensive repairs. Applying texture coat over improperly prepared surfaces leads to delamination within months. The coating peels away in sheets, requiring complete removal and reapplication. Skipping the base coat on new construction causes adhesion failure. Using the wrong mesh or forgetting expansion joints creates cracks that telegraph through the finish.
Inconsistent thickness across the wall surface creates visual problems and structural weak points. Thin areas allow moisture penetration, while thick areas add unnecessary weight and material cost. Poor joint treatment at wall intersections and around openings invites water intrusion. These mistakes often don’t become apparent until months after completion, well past any reasonable return period for materials.
When to Absolutely Call a Licensed Contractor
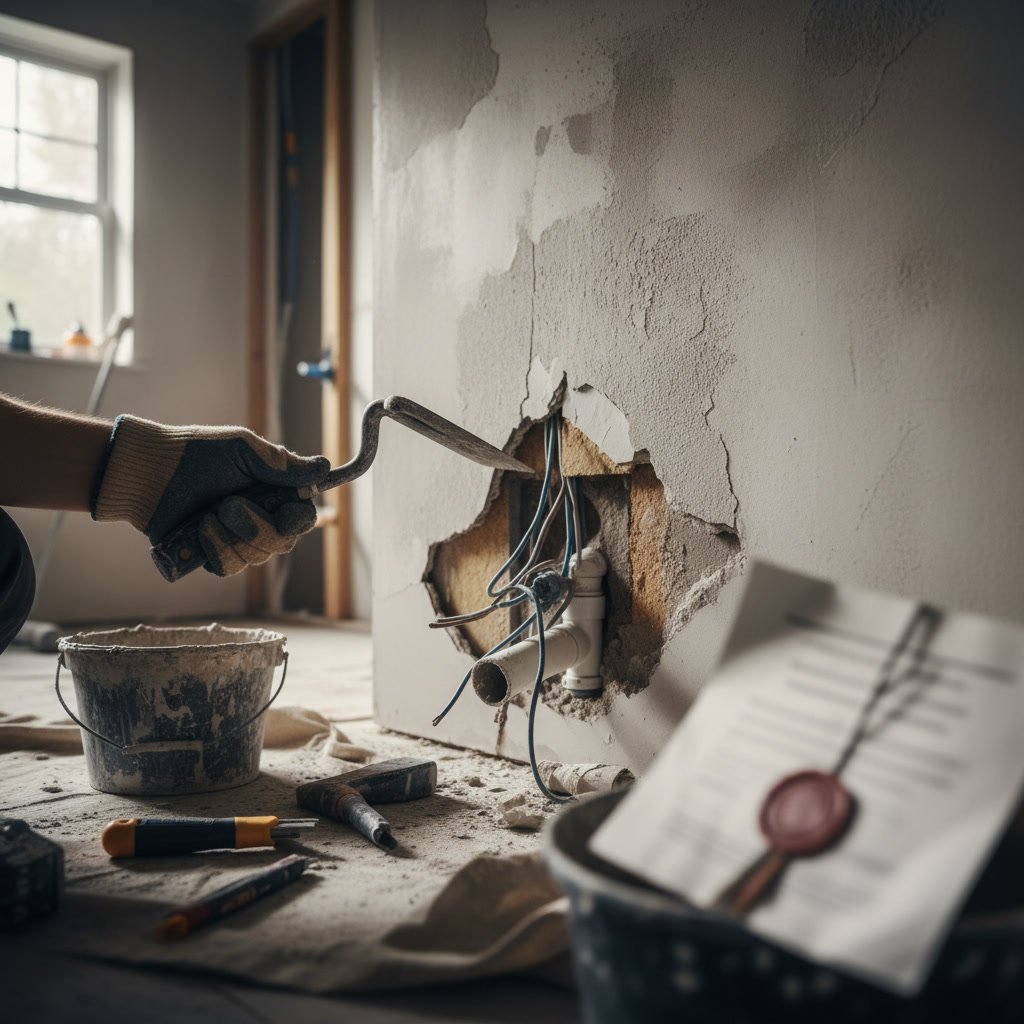
Certain situations demand professional involvement from the start. Any project involving structural repairs, such as replacing sheathing or addressing framing issues, requires licensed expertise. Water damage remediation before texture coating needs proper diagnosis and repair by professionals familiar with building codes.
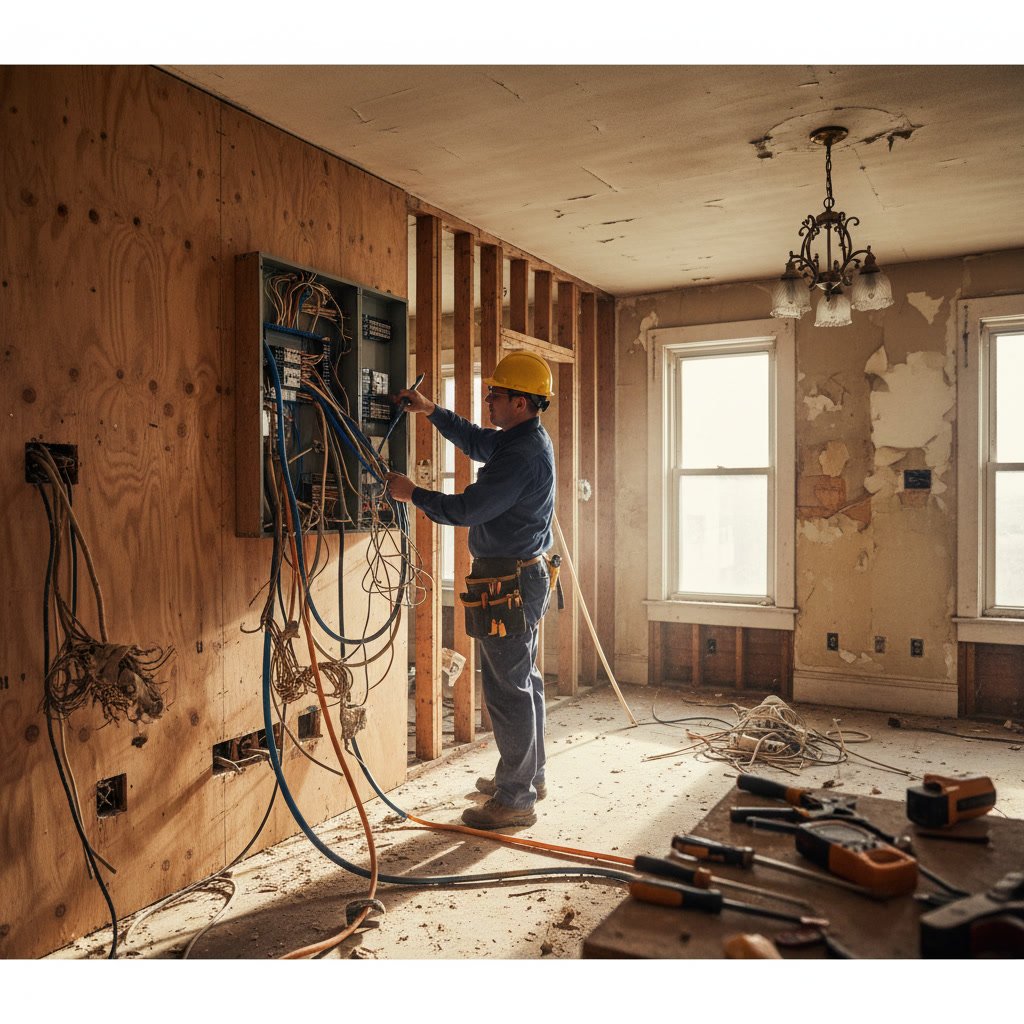
Multi-story homes present safety hazards that homeowners shouldn’t accept. Falls from heights above eight feet frequently cause serious injuries. Commercial projects require licensed contractors and proper insurance coverage. If your project connects to other work like electrical work or residential construction, coordinating trades becomes complex enough that professional project management proves essential.
How DIY Attempts Affect Warranty and Insurance
Most texture coat manufacturers require professional application for warranty coverage. Attempting DIY installation voids material warranties, leaving you responsible for any failures. Homeowners insurance may not cover damage resulting from improper DIY work, particularly water intrusion that damages interior finishes or structural components.
Professional contractors carry liability insurance and workers compensation coverage. If someone gets hurt during a DIY project on your property, your homeowners insurance may face claims. Licensed contractors also pull proper permits and schedule inspections, ensuring work meets local building codes. This documentation protects your home’s resale value and prevents problems during future transactions.
Understanding Project Timelines and Complexity
A professional crew completes a typical single-story home in two to three days, including prep work, base coat, texture application, and cleanup. DIY projects stretch to several weekends, exposing your home to weather longer and increasing the risk of inconsistent application as you learn techniques. Similar to the considerations in combined painting and remodeling projects, coordinating materials, weather windows, and sequential steps requires experience.
If your project ties into other renovations like bathroom remodeling or kitchen remodeling, timing becomes even more critical. Professionals coordinate with other trades and adjust schedules based on weather forecasts and material delivery.
Real Cost Comparison: DIY vs Professional Services
Material costs for a 1,500 square foot home run approximately $800-$1,200, including base coat, finish coat, mesh, fasteners, and sealers. Equipment rental adds $400-$600 for sprayers, scaffolding, and mixers. Your total DIY cost reaches $1,200-$1,800 before accounting for your time.
Professional installation for the same project typically costs $3,500-$5,500, including materials, labor, equipment, insurance, and warranty. The difference of $2,000-$3,500 buys you proper application, warranty protection, and eliminates the risk of costly mistakes. When you factor in the value of your time and the learning curve, professional installation often provides better value, especially for first-time projects.
Making the Right Choice for Your Home and Budget
Evaluate your project honestly before committing to DIY work. If you have limited home improvement experience, lack the necessary tools, or face time constraints, professional installation makes sense. Small repair patches under two square feet remain reasonable DIY projects if you match existing textures carefully.
Consider your home’s condition and age. Older homes often hide underlying issues that professionals identify during preparation. Homes in coastal areas face additional moisture challenges that require expert attention. If you’re uncertain about any aspect of the project, consultation with experienced contractors provides clarity and helps you make an informed decision.
With over 30 years of experience in the Bay Area, Murillo Construction Painting and Remodeling has completed hundreds of successful texture coat projects across different home styles and conditions. The team understands local weather patterns, building codes, and the specific challenges that Bay Area homes present. Whether you need a complete exterior transformation or repairs to existing texture coating, professional expertise ensures results that protect your investment and enhance your home’s appearance for years to come.
Ready to discuss your texture coat project and get an accurate assessment of your home’s needs? Contact Murillo Construction Painting and Remodeling at +15106609596 to schedule a consultation and receive a detailed estimate based on your specific situation.