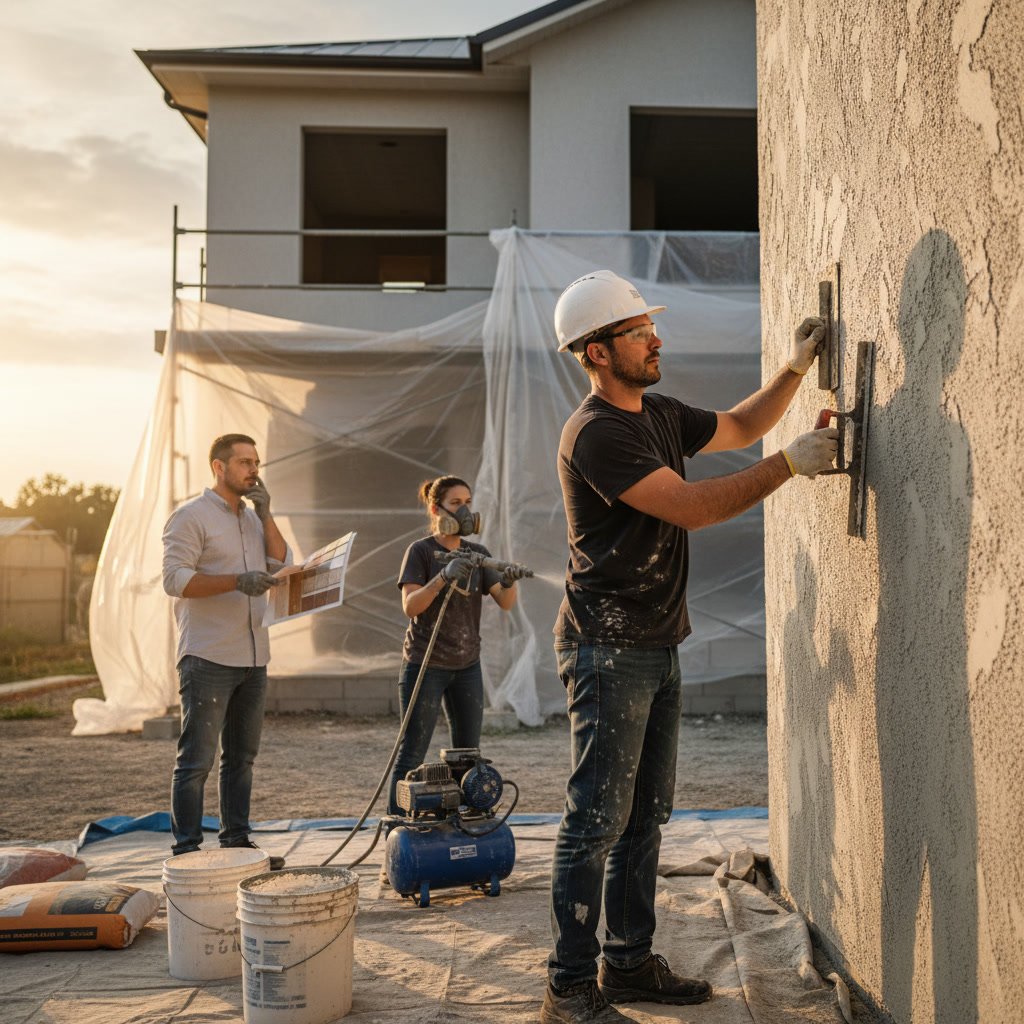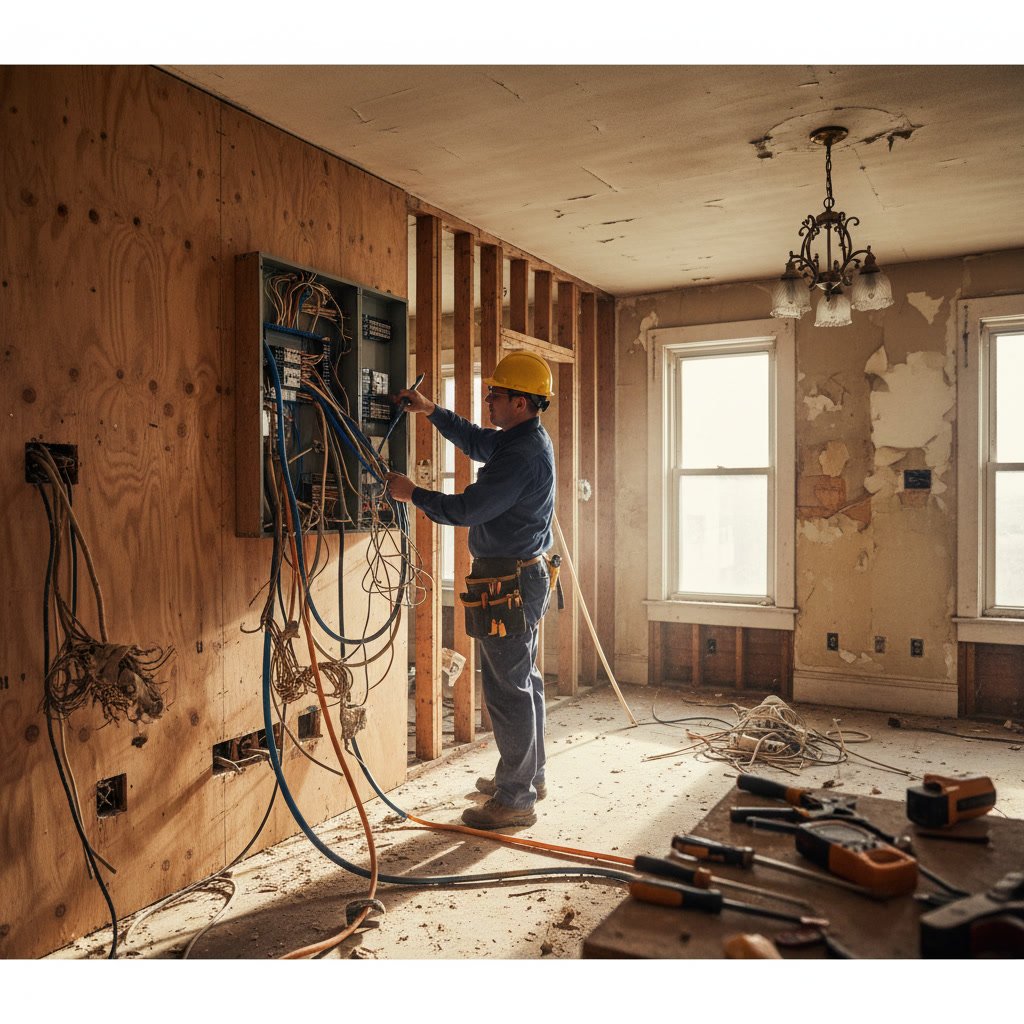

The key steps to prepare for residential construction include clearing work areas, protecting furniture and flooring, securing pets and children, establishing clear access routes for contractors, and setting up a temporary living arrangement if needed. Proper preparation reduces delays, prevents damage to your belongings, and creates a safer, more efficient workspace for the construction team.
Planning ahead for a major home project makes the difference between a smooth renovation and one filled with preventable setbacks. Most homeowners underestimate how disruptive construction can be to daily routines, especially when the work involves multiple rooms or structural changes.
Understanding what contractors need from you before they arrive helps the project start on time and proceed without unnecessary interruptions. The right preparation also protects your investment by reducing the risk of accidental damage to areas outside the construction zone.
Why Pre-Construction Planning Matters
Construction projects generate dust, noise, and foot traffic that can affect your entire home. Without proper planning, you risk damage to furniture, flooring, and personal items that weren’t part of the renovation scope.
Creating a detailed preparation checklist weeks before the start date gives you time to address each area methodically. This includes everything from moving valuables to arranging alternative cooking facilities if your kitchen remodeling project will take several weeks.
Contractors work most efficiently when they have clear access to work areas and don’t need to navigate around household items. The time you invest in preparation translates directly to faster project completion and lower labor costs.
Understanding Your Project Scope and Timeline
Before moving a single piece of furniture, review the full scope of work with your contractor. Ask which rooms will be affected, where workers will enter and exit, and whether utilities like water or electricity will be temporarily shut off.
A detailed timeline helps you plan around major disruptions. If your bathroom remodeling will leave you without a shower for five days, you can arrange to use a friend’s facilities or join a gym during that period.

Request a day-by-day breakdown for the first week, especially for projects involving messy work like demolition, drywall installation, or painting. This allows you to schedule your own activities around the loudest or most disruptive phases.
Clearing and Protecting Your Work Areas
Remove all furniture, decorations, and personal items from rooms where construction will occur. Even small items on shelves or in cabinets should be relocated, as vibration from demolition or drilling can cause them to fall.
For adjacent rooms, move furniture at least three feet away from shared walls. Construction dust travels farther than most people expect, often seeping under doors and through ventilation systems.
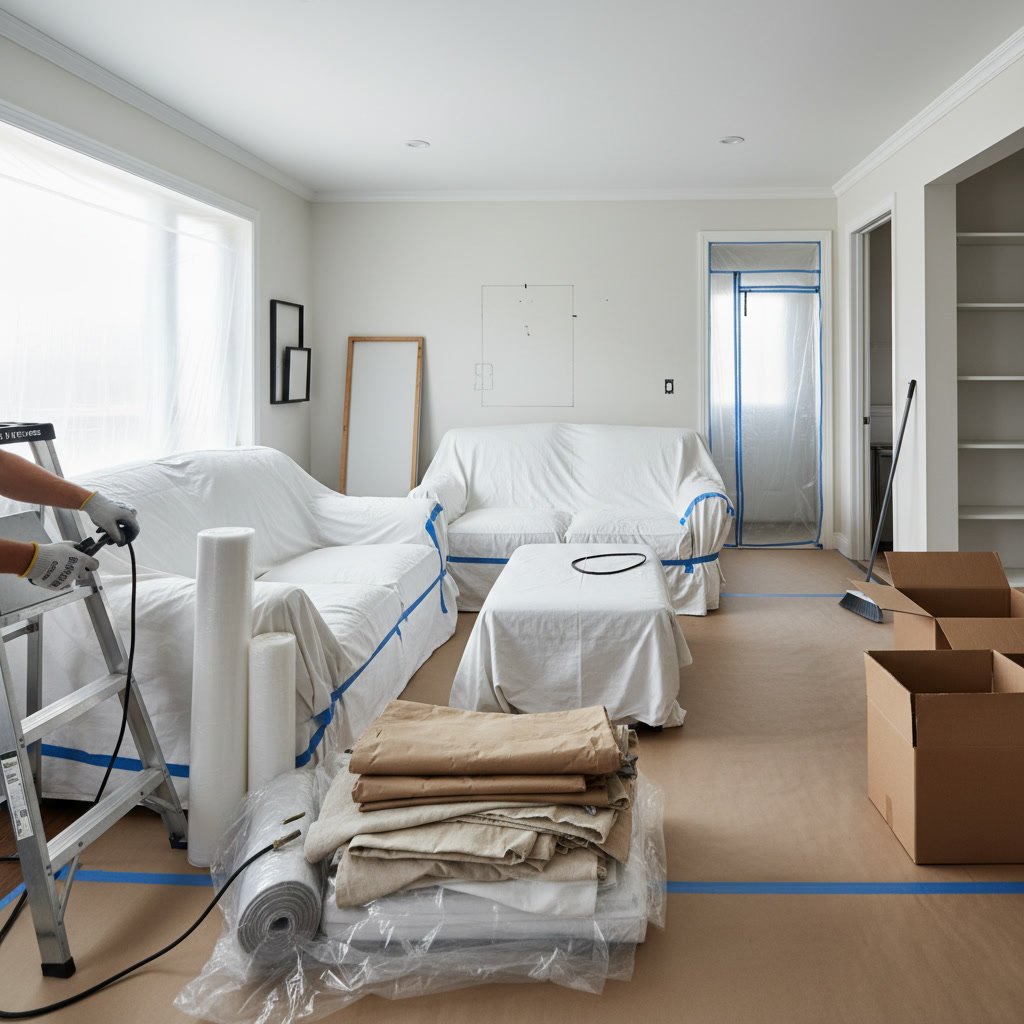
Professional contractors typically provide basic floor protection, but you can add extra layers in high-traffic areas. Heavy-duty rosin paper works better than thin plastic sheeting, which can become slippery and create safety hazards.
Protecting Flooring, Fixtures, and Finishes
Even if your hardwood floors aren’t being replaced, they need protection from scratches caused by ladders, tool bags, and material deliveries. Use thick cardboard or specialized floor protection products rated for construction use.
Cover light fixtures, ceiling fans, and built-in shelving with plastic sheeting secured with painter’s tape. Dust from sanding drywall or cutting tile work can settle into crevices and become difficult to remove later.
Remove window treatments entirely rather than simply covering them. Blinds and curtains trap dust and often require professional cleaning after a renovation, adding unexpected costs to your project.
Setting Up Barriers and Containment Zones in Berkeley Homes
Seal doorways leading to work areas using heavy plastic sheeting and zipper kits designed for construction projects. These create actual doors you can walk through while maintaining a dust barrier.
Many Berkeley homeowners underestimate how much dust migrates through older homes with gaps around trim and baseboards. Seal floor-level gaps with temporary caulk or foam strips that can be removed later.
Set up a dedicated entry and exit route for workers, ideally through a side or back door. This minimizes dirt tracked through your main living spaces and reduces wear on high-traffic areas.
Arranging Utilities, Access, and Storage
Confirm which utilities will remain active during construction and which may need temporary shutoffs. If electrical work requires a full-day power outage, you’ll need to empty your refrigerator and freezer ahead of time.
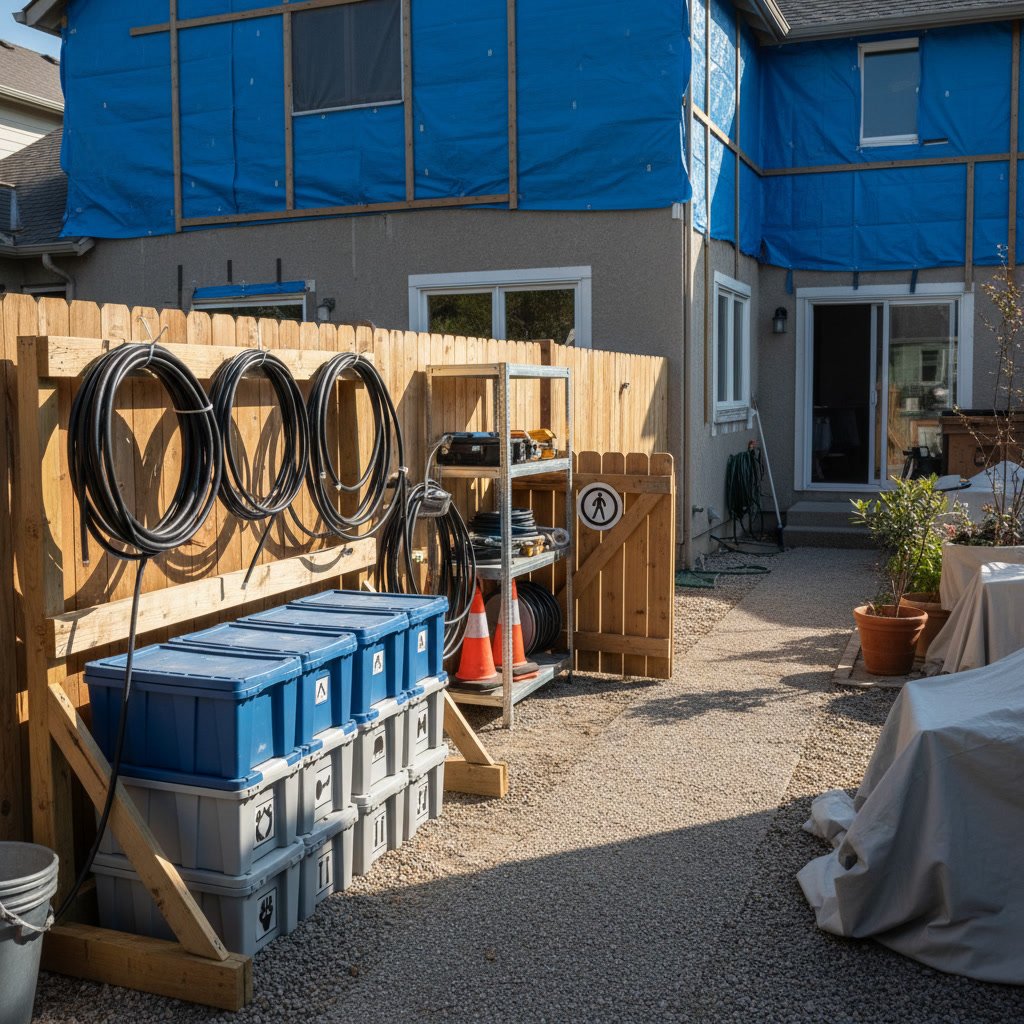
Clear a parking space as close to your home as possible for contractor vehicles and material deliveries. Large items like cabinets, countertops, and lumber need to be unloaded efficiently to avoid delays.
Designate a storage area for materials that arrive before they’re needed. A garage, basement corner, or even a rented storage container keeps supplies organized and protects them from weather damage.
Managing Pets, Children, and Daily Routines
Construction sites contain hazards that aren’t safe for curious children or pets. Sharp tools, open electrical boxes, and chemicals require you to establish strict boundaries around work areas.
Consider boarding pets during the most intensive work phases, especially demolition and flooring installation. Loud noises cause stress for animals, and open doors create escape opportunities.
Establish a daily routine that accounts for limited access to certain rooms. If your only bathroom is being renovated, set up a portable toilet or arrange alternate facilities before work begins, not after you realize the need.
Communicating Expectations and Project Details
Schedule a pre-construction walkthrough with your contractor to confirm exactly which areas will be disturbed. Point out anything fragile or valuable that needs extra protection, including landscaping near exterior work zones.
Discuss work hours, break times, and whether workers will use your bathroom or bring portable facilities. Clear communication about these details prevents misunderstandings that can sour the working relationship.
Ask about the cleanup process at the end of each day. Professional teams typically sweep and contain debris, but expectations vary. Knowing the standard helps you plan evening activities around dust levels and workspace conditions.
Step-by-Step Preparation Checklist
Three weeks before construction starts, obtain all necessary permits and confirm your contractor’s insurance coverage is current. Schedule any required inspections so they don’t delay progress once work begins.
Two weeks out, begin packing and moving items from work areas. Label boxes clearly and store them in a location that won’t interfere with construction access routes.
One week before, conduct a final walkthrough to verify all preparation steps are complete. Take photos of your home’s condition before work starts, documenting both the construction area and surrounding spaces for insurance purposes.
The day before construction begins, do a final sweep of work areas to remove any remaining personal items. Confirm the arrival time with your contractor and ensure someone will be home to provide access and answer any last-minute questions.
Handling Multi-Phase Projects
Large projects that combine multiple services require phased preparation. A residential construction project might start with demolition, move to framing and electrical, then finish with drywall and painting.
Each phase brings different requirements. Demolition creates the most dust and noise, while finish work demands cleaner conditions. Adjust your protective measures as the project evolves rather than maintaining maximum containment throughout.
Understanding typical project timelines helps you anticipate transitions between phases. Most homeowners find the middle stages less disruptive than demolition and final detailing, when perfectionism slows progress. You can learn more about expected durations by reading about how long combined painting and remodeling projects take.
Your Home Is Ready for Transformation
Thorough preparation protects your home, accelerates construction timelines, and reduces stress during the renovation process. The hours you invest in clearing spaces, protecting surfaces, and planning logistics pay dividends in smoother project execution and better outcomes.
Taking these steps seriously demonstrates respect for the craftsmanship going into your home while protecting your investment in both the property and the renovation itself. A well-prepared home allows skilled contractors to focus on quality work rather than navigating obstacles.
Murillo Construction Painting and Remodeling brings over 30 years of experience to residential projects throughout Berkeley and surrounding communities. Our team works with homeowners to ensure proper preparation and clear communication from the first planning conversation through final walkthrough. Call +15106609596 to discuss your upcoming project and receive guidance on preparing your home for a successful renovation.