
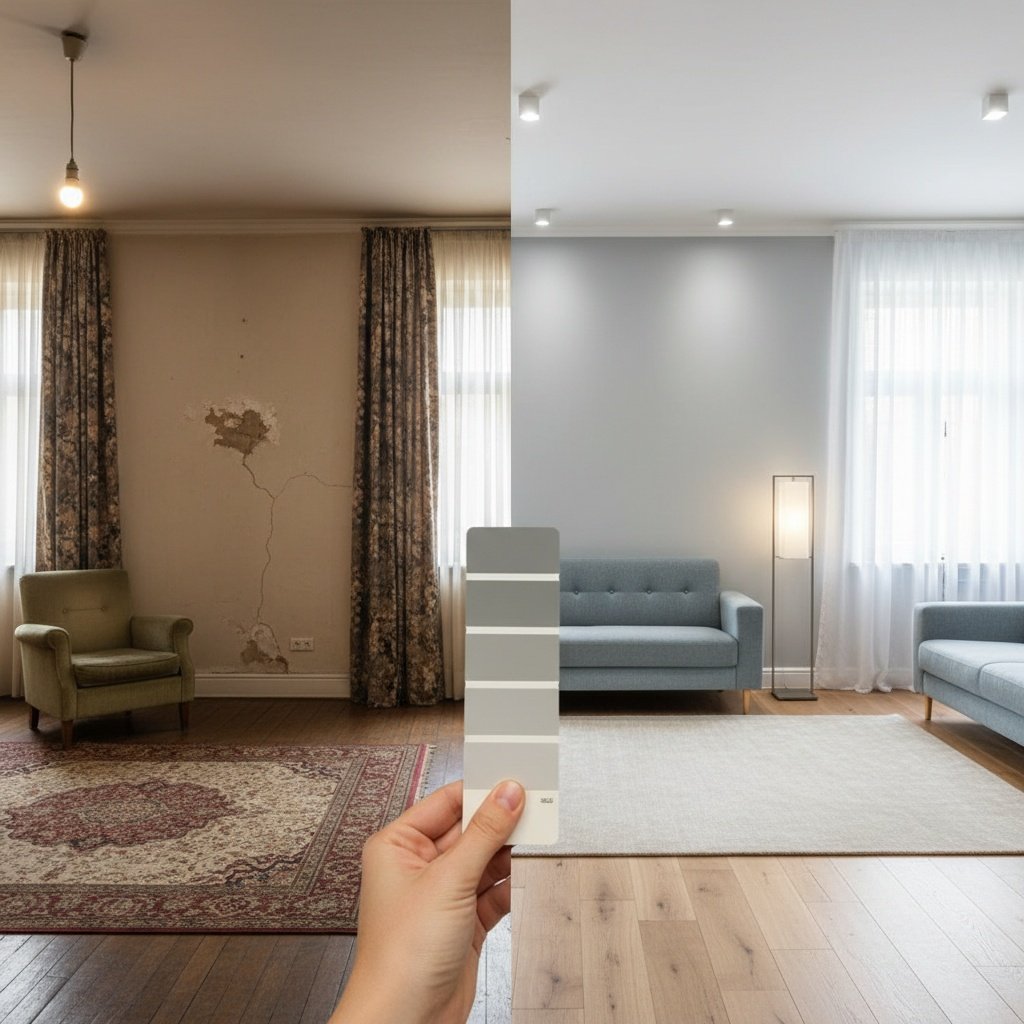
Paint color changes after remodeling happen more often than most homeowners expect. The shade you loved in the showroom can look dramatically different once new countertops, flooring, lighting fixtures, and finishes are installed. This shift occurs because paint interacts with every surface and light source around it, and a remodel fundamentally alters that environment. Understanding these interactions before you commit to a color can save you from costly repainting.
The Science Behind Color Perception in Your Home
Color is not fixed. What you perceive as a specific shade depends entirely on the light waves reflecting off the painted surface and into your eye. When you change the materials, textures, and lighting in a room, you change which wavelengths bounce around the space. A warm beige that looked creamy next to old oak cabinets might turn pink or yellow beside new white quartz countertops.
This phenomenon intensifies in rooms with multiple reflective surfaces. Kitchens and bathrooms experience the most dramatic color shifts during remodeling because they contain glossy tile, polished stone, metal fixtures, and glass. Each material reflects light differently, casting subtle tints onto nearby walls.
How Lighting Fixtures Transform Wall Colors
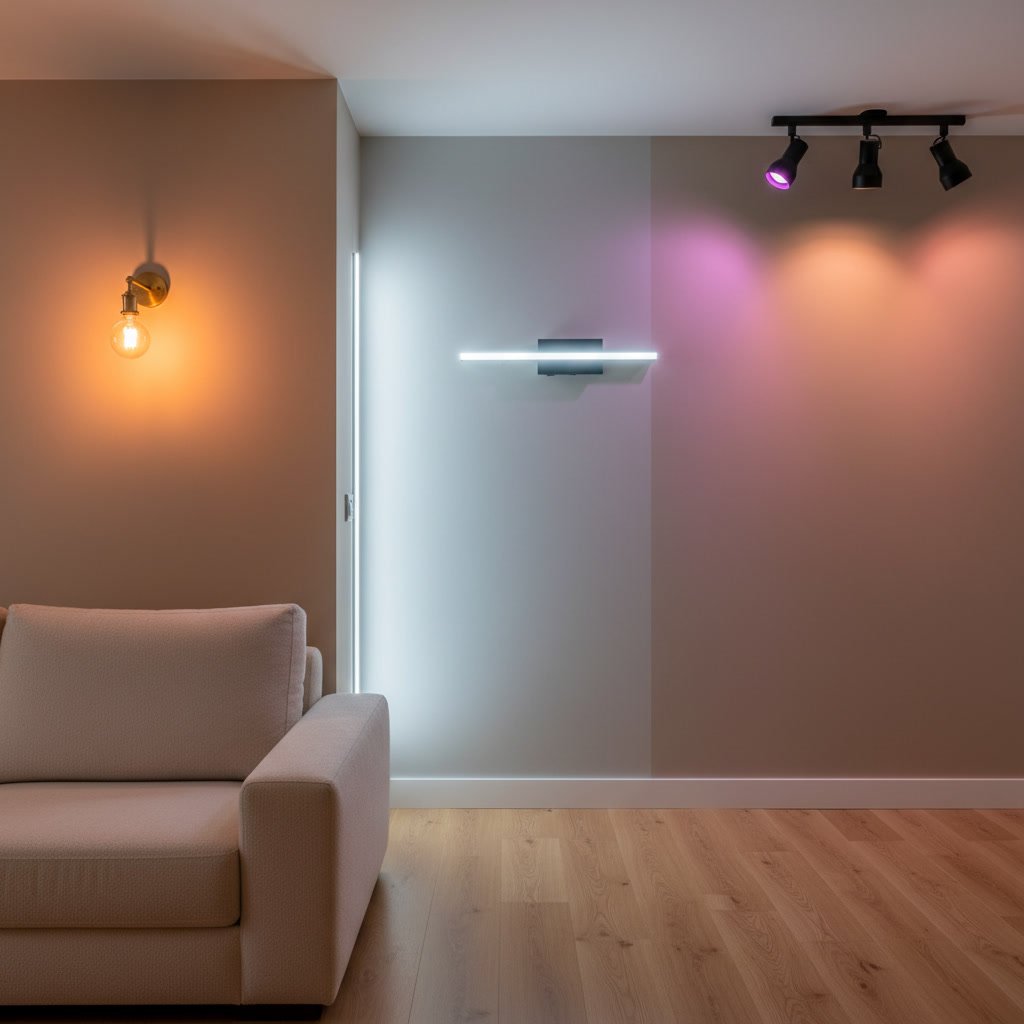
The single biggest factor in how paint looks is the quality and temperature of your light sources. If your kitchen remodeling project includes switching from old incandescent bulbs to LED fixtures, your wall color will change noticeably. Incandescent lights emit warm, yellow-toned light that makes reds, oranges, and yellows richer while dulling blues and greens. LEDs, depending on their Kelvin rating, can cast cooler, bluer light that does the opposite.
Natural light also shifts throughout the day. A north-facing room receives cooler, more consistent light, while south-facing spaces get warmer, more intense sunlight that changes paint appearance from morning to evening. When you add new windows, skylights, or change window treatments during a remodel, you alter the natural light balance entirely.
The Role of Countertops and Cabinetry
Large horizontal and vertical surfaces act as secondary light sources through reflection. White or light-colored granite countertops bounce significantly more light upward than dark surfaces, making ceiling and upper wall colors appear lighter and sometimes washed out. Similarly, glossy cabinet finishes reflect more light than matte ones, changing how adjacent wall paint reads.
When planning your project timeline and budget, consider reviewing resources on what to expect financially, such as details on kitchen remodel costs, to ensure you allocate funds for potential paint adjustments after installation.
Why Flooring Materials Change Everything
Flooring covers the largest continuous surface in most rooms and has an outsized impact on color perception. Dark hardwood floors absorb light and can make wall colors appear lighter by contrast. Light tile or engineered wood reflects more light upward, subtly tinting lower wall sections with whatever undertone the flooring contains.
The effect becomes more pronounced with highly reflective materials. Polished marble and granite floors in entryways or bathrooms create a mirror-like surface that literally reflects wall color back onto itself, intensifying whatever hue you have chosen. Tile work with glossy glazes produces similar results, particularly in smaller spaces where walls and floors sit closer together.
Understanding Undertones and Material Interaction
Every paint color contains undertones, which are the secondary hues hiding beneath the primary color. A gray might have blue, green, or purple undertones. These hidden tones only reveal themselves when placed next to other colors. New materials introduced during remodeling bring their own undertones, and these interact in unpredictable ways.
A common scenario: you select a neutral greige paint that looks perfect with your existing honey oak trim. During the remodel, you replace that trim with white painted wood. Suddenly, the wall color looks lavender or pink because the warm oak was balancing the cool undertones in the paint. Without that warmth, the hidden purple emerges.
Texture and Sheen Impact on Berkeley Homes
Surface texture affects light absorption and reflection as much as color itself. Smooth drywall reflects light evenly, while textured walls scatter it in multiple directions, making colors appear slightly lighter and less saturated. If your remodel includes changing from smooth walls to a texture coat, or vice versa, the same paint will look different.
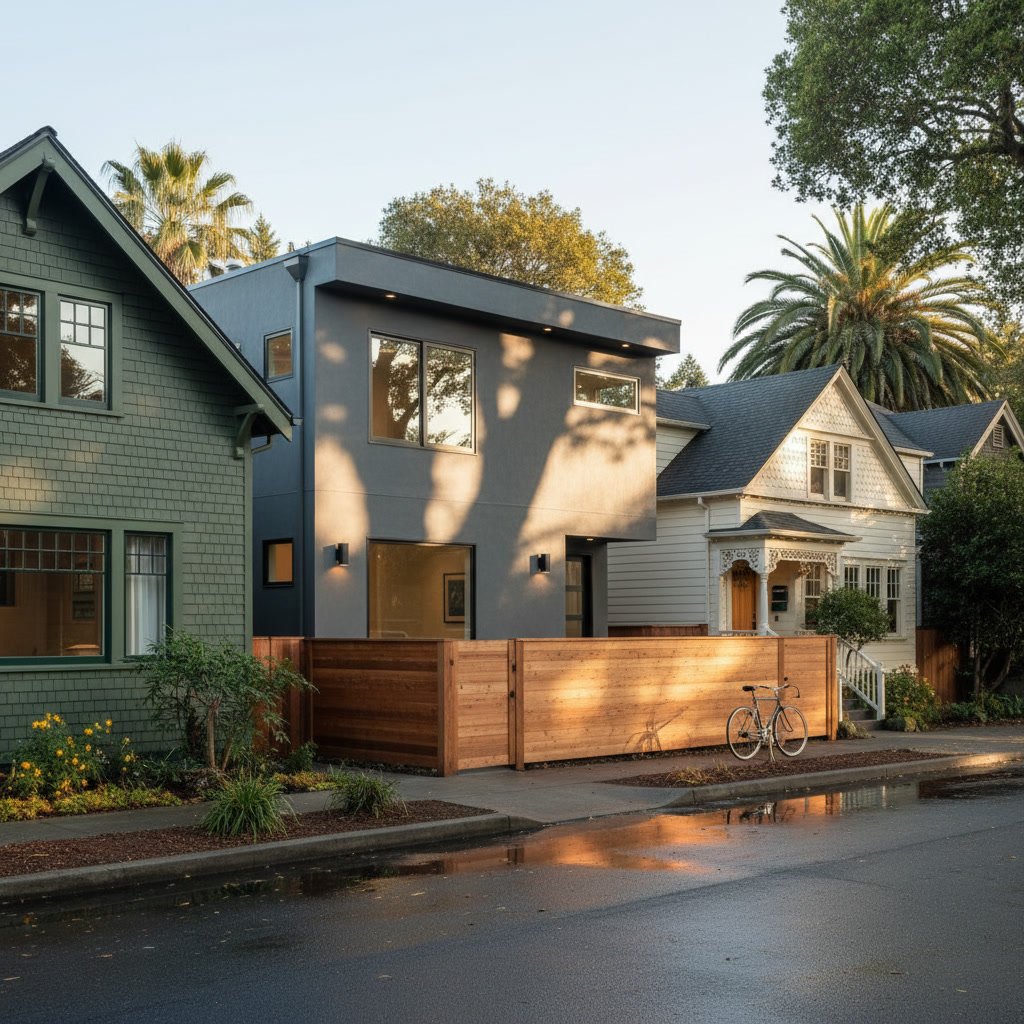
Paint sheen also plays a critical role. Flat and matte finishes absorb more light, showing truer color with less variation based on viewing angle. Satin, semi-gloss, and gloss sheens reflect more light, making colors appear lighter and changing appearance based on where you stand. When you upgrade fixtures, countertops, and finishes during a Berkeley remodel, you often increase the overall reflectivity of the space, which compounds these sheen effects.
Five Steps to Test Paint Before Committing
Professional painters and designers use a specific testing process to avoid color regret after remodeling. Follow these steps to see how your chosen paint will actually look in the finished space.
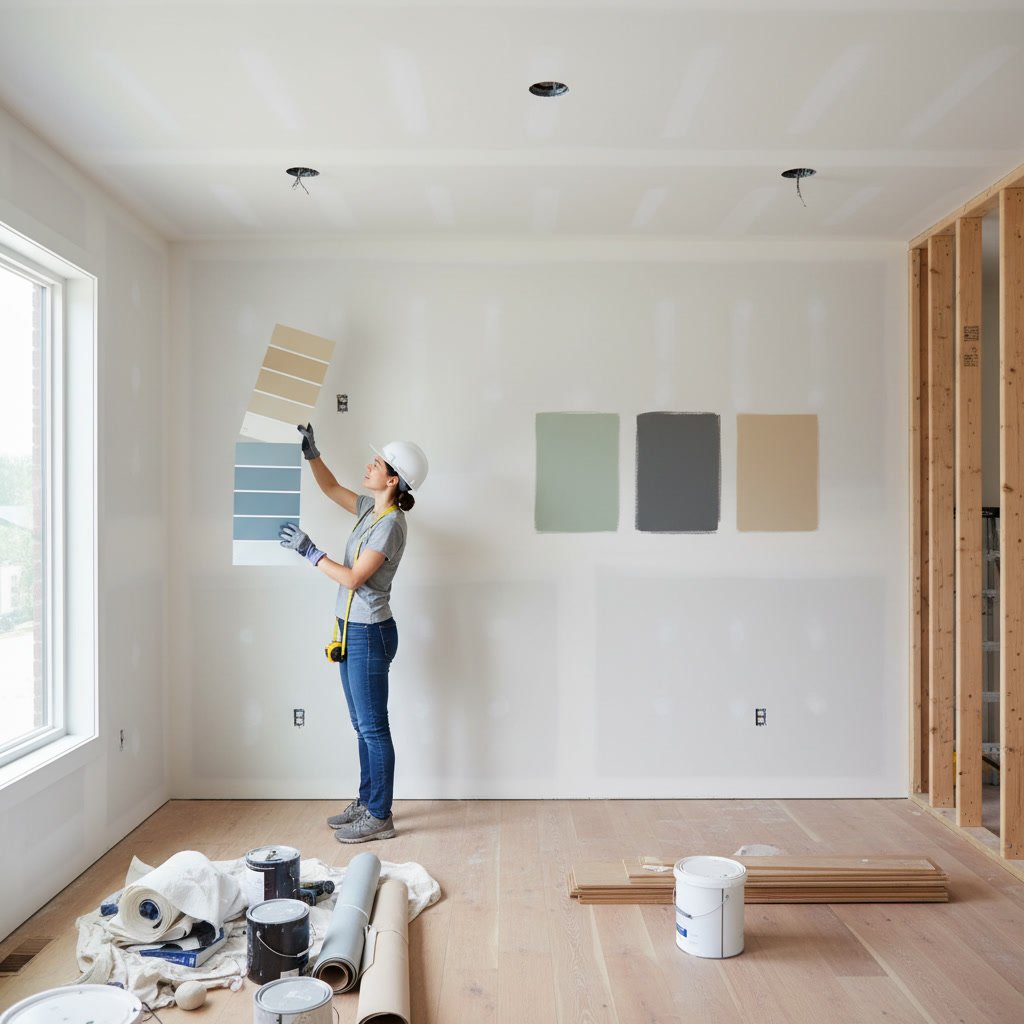
First, purchase sample pots of your top three to five color choices. Paint large sections, at least two feet by two feet, on different walls in the room. Small swatches do not provide enough information because they do not show how the color behaves across a large surface.
Second, paint those samples on boards or directly on the wall after new materials are installed but before final painting. If countertops, flooring, and cabinetry are in place, you will see real interactions. If those elements are not yet installed, bring sample pieces into the room and place them near your test patches.
Third, observe the samples at different times of day. Check morning, midday, afternoon, and evening, both with natural light and with your new artificial lighting turned on. Colors that look perfect at noon might turn muddy or garish at night under LED bulbs.
Fourth, live with the samples for at least 48 to 72 hours. Initial reactions are often misleading. A color that feels too bold on day one might settle into the space beautifully by day three. Conversely, a safe choice might reveal itself as boring once the novelty wears off.
Fifth, compare your samples against all new materials simultaneously. Place tile samples on the floor, hold cabinet door samples against the wall, and position countertop remnants nearby. This holistic view shows how everything works together rather than evaluating paint in isolation.
When to Select Paint During the Remodeling Timeline
Timing matters significantly. Many homeowners choose paint colors before remodeling begins, using old materials as reference points. This approach almost guarantees that paint color changes after remodeling because the reference environment no longer exists.
The ideal time to finalize paint selection is after all permanent materials are installed. Wait until countertops, backsplashes, flooring, cabinetry, and fixed lighting are in place. Only then can you accurately assess how paint interacts with the completed space. This often means delaying exterior and interior painting until late in the construction sequence, which requires coordination with your contractor.
If project timing requires earlier paint selection, base your choice on samples of the new materials rather than existing ones. Bring home remnants, cutoffs, or samples of the actual products being installed. Test paint colors against these future finishes, not against what currently exists in your home.
How Different Rooms Respond to Color Shifts
Not all spaces experience equal color change during remodeling. Bathroom remodeling projects often produce the most dramatic shifts because these small rooms contain high concentrations of reflective tile, glass, chrome fixtures, and mirrors. A paint color that worked beautifully with an old vanity and basic lighting might look completely different with new vessel sinks, frameless glass shower doors, and modern LED sconces.
Kitchens rank second for color variability due to expansive countertop surfaces and the mix of materials typically involved. Living rooms and bedrooms show less dramatic change unless the remodel includes significant lighting upgrades or large reflective surfaces like built-in entertainment centers with glass fronts.
Professional Tips for Color Selection Success
Experienced contractors and color consultants use a specific strategy that homeowners can replicate. Start by identifying the largest, most permanent surface in the room, typically flooring or countertops. Use that as your color anchor. Select paint that complements this anchor rather than fighting it.
Next, consider the undertones in that anchor material. If your new quartz countertop has warm beige veining, choose paint with compatible warm undertones. If your tile has cool gray tones, select paint that leans equally cool. Mixing warm and cool undertones rarely produces satisfying results.
For lighting, request the specific Kelvin rating and Color Rendering Index (CRI) of all new fixtures before selecting paint. Bulbs rated 2700K to 3000K produce warm white light similar to incandescent bulbs. Ratings of 3500K to 4100K produce neutral to cool white light. A CRI above 90 means colors appear more accurate and vibrant. Low CRI lighting, common in budget LED fixtures, can make even perfectly chosen paint look flat or distorted.
Making the Right Choice for Your Remodeled Space
The interaction between paint, lighting, and materials is complex but manageable when you understand the principles at work. Every surface in your home contributes to the final color you perceive on your walls. Remodeling changes these contributing factors, sometimes subtly and sometimes dramatically.
Success comes from testing in context, waiting until new materials are installed, and understanding how light temperature and reflection patterns affect color. The extra time invested in proper sampling prevents the frustration and expense of repainting rooms shortly after a remodel concludes. When you account for these variables during planning, your finished space will look cohesive and intentional rather than mismatched.
Murillo Construction Painting and Remodeling brings over 30 years of experience helping homeowners navigate these exact challenges. Whether your project involves a complete room transformation or targeted updates, professional guidance ensures your paint selection works harmoniously with every new material and light source. Reach out at +15106609596 to discuss how proper planning and expert color consultation can make your remodeling project successful from the first brushstroke.