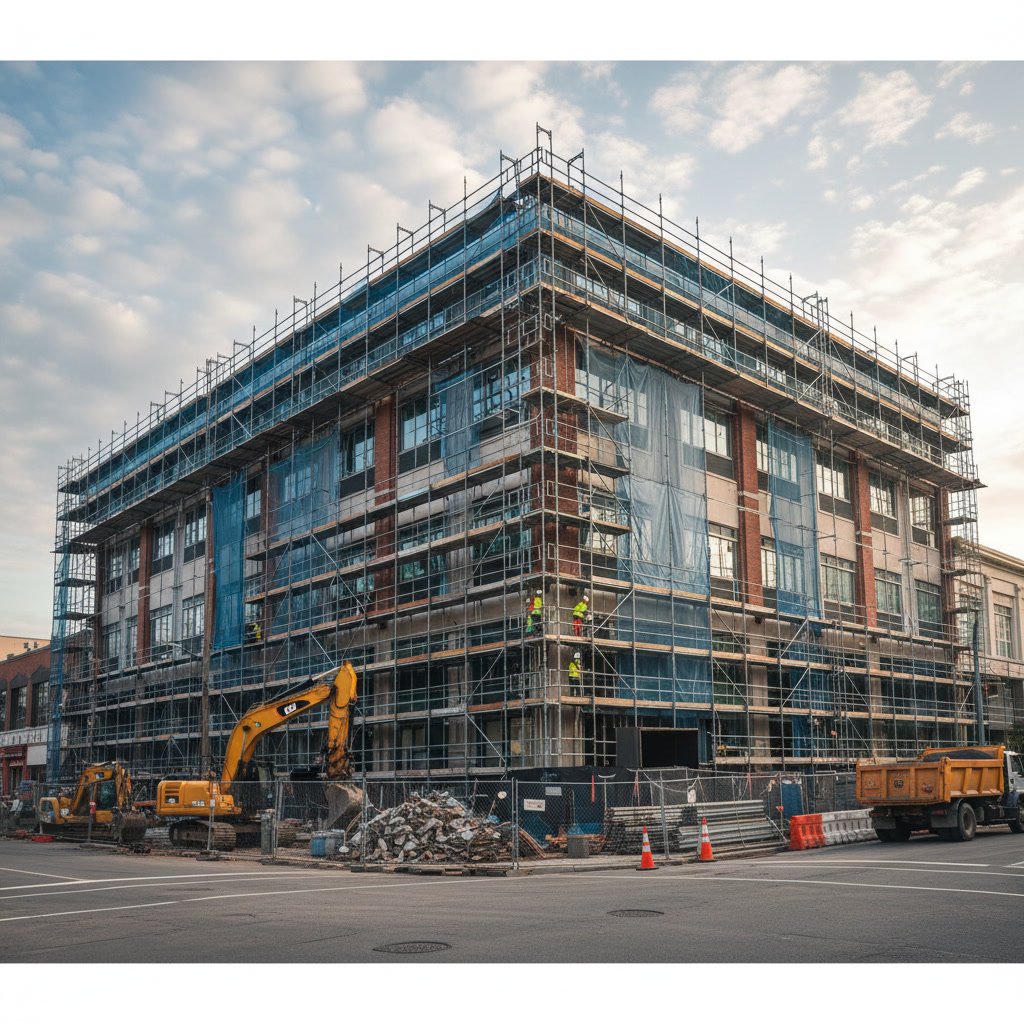
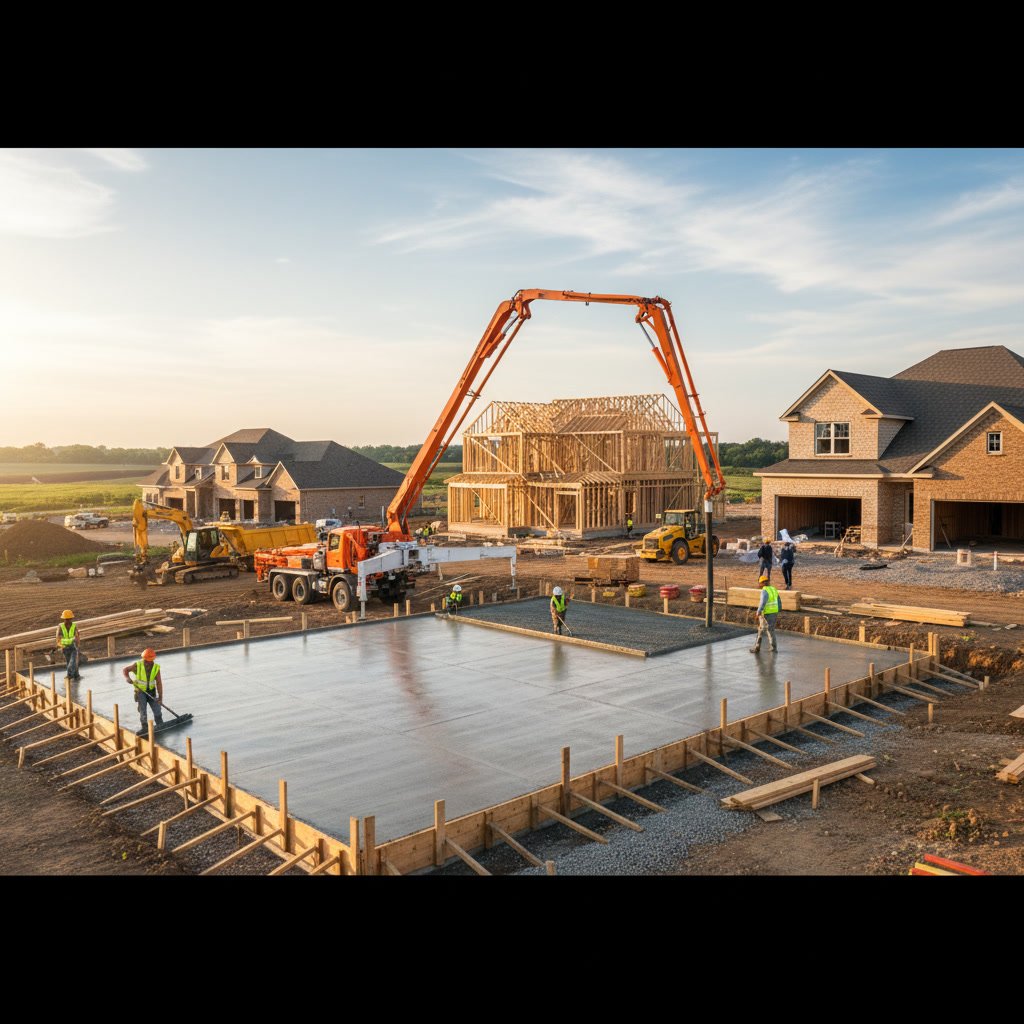
The new construction build process follows a specific sequence of stages that transform an empty lot into a finished home. Each phase requires specialized trades, careful coordination, and inspections to ensure the structure meets code requirements. From grading the site and pouring the foundation through framing, rough-in work, and interior finishes, the typical residential build takes four to eight months depending on size, complexity, and weather conditions.
Why Understanding Each Phase Matters for Homeowners
When you know what to expect at each stage, you can ask better questions, spot potential delays early, and make informed decisions about upgrades or changes. Construction schedules shift based on permit approvals, material deliveries, and weather, so a clear understanding of the sequence helps you maintain realistic expectations. Each completed milestone represents a checkpoint where inspectors verify that work meets local building codes before the next trade can begin.
First-time builders often underestimate how interconnected the phases are. If framing takes longer than planned, every subsequent phase shifts back. If rough electrical work fails inspection, drywall installation waits. Recognizing these dependencies gives you the context to understand why certain delays happen and how they ripple through the timeline.
Site Preparation and Foundation Work
Before any vertical construction begins, the site must be cleared, graded, and prepared for the foundation. Surveyors stake out the building footprint, ensuring property lines and setbacks match approved plans. Excavation crews dig trenches for footings, which typically extend below the frost line and provide stable support for the foundation walls.
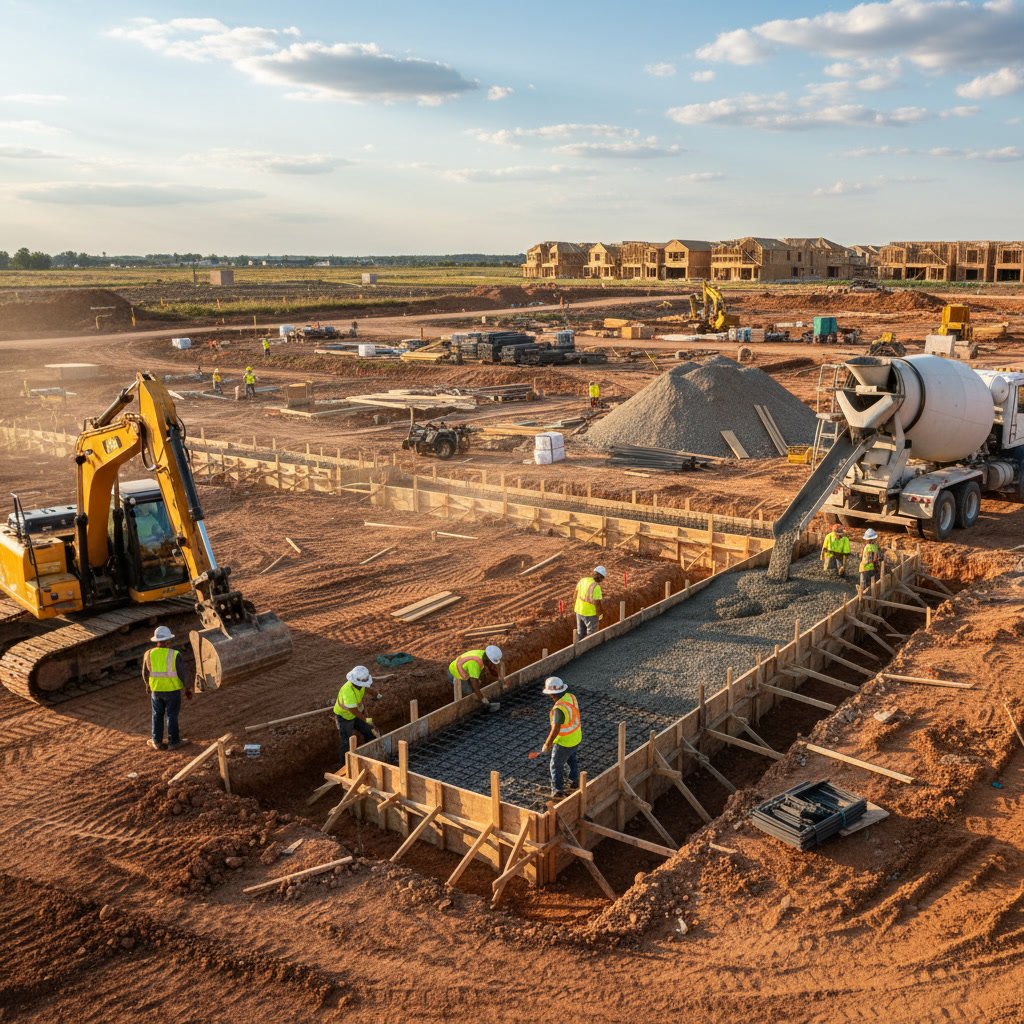
Once footings are poured and cured, crews install forms for the foundation walls and lay rebar according to structural engineering specifications. The foundation pour itself happens in one continuous operation to avoid cold joints that can compromise structural integrity. After the concrete cures for several days, inspectors verify the foundation before crews backfill around the perimeter and prepare the site for framing.
Framing the Structure in Berkeley
Framing transforms the foundation into a recognizable structure. Crews install floor joists or pour a slab, then erect walls using dimensional lumber or engineered wood products. Wall framing includes studs spaced 16 or 24 inches on center, headers over door and window openings, and shear panels or bracing to resist lateral loads from wind and seismic activity.
Roof framing follows walls, with trusses or rafters installed according to the structural plan. In seismically active regions like the Bay Area, builders use additional hurricane ties, hold-downs, and anchor bolts to meet California building code requirements. Once the roof decking is installed and the structure is weather-tight with a temporary covering, the framing inspection occurs before any rough-in work begins.
Rough-In Plumbing and Electrical Systems
With the frame standing and approved, the rough-in phase begins. Plumbers install supply lines, drain pipes, and vent stacks through walls and floors. They position stub-outs for sinks, toilets, tubs, and appliances, leaving enough pipe protruding to connect fixtures later. Water supply lines run through walls to bathrooms, the kitchen, laundry areas, and outdoor hose bibs.
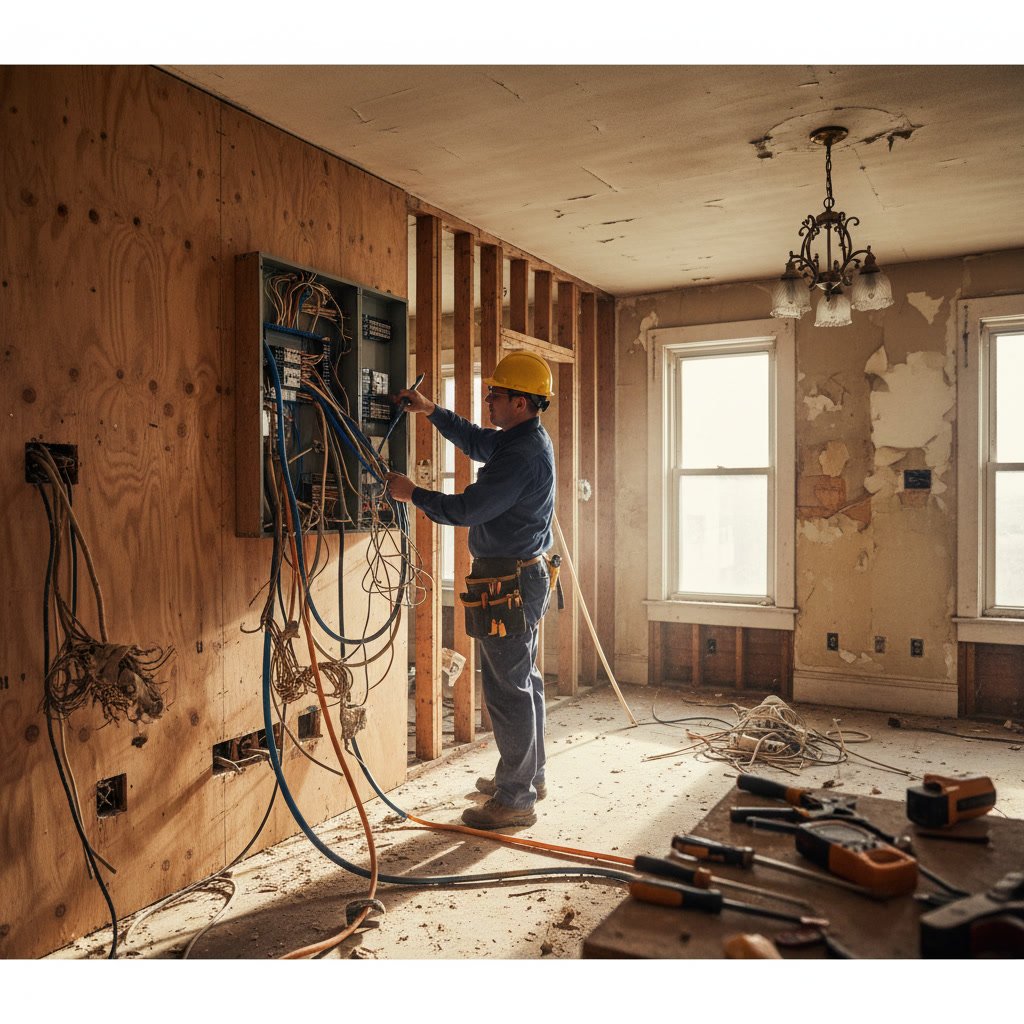
Electricians follow with wiring for outlets, switches, and lighting. They install boxes at each device location, run cable through studs and joists, and connect circuits at the main service panel. Understanding how new construction electrical systems differ from remodeling upgrades highlights why this phase requires careful planning for capacity, safety, and future expansion. HVAC technicians also complete ductwork and install equipment during this stage.
Insulation and Weatherproofing
After rough-in inspections pass, insulation contractors fill exterior wall cavities with fiberglass batts, blown cellulose, or spray foam to meet energy code requirements. Proper insulation installation matters as much as R-value since gaps and compression reduce effectiveness. Insulation also goes in attic spaces, basement ceilings, and around ductwork to minimize heat loss and gain.
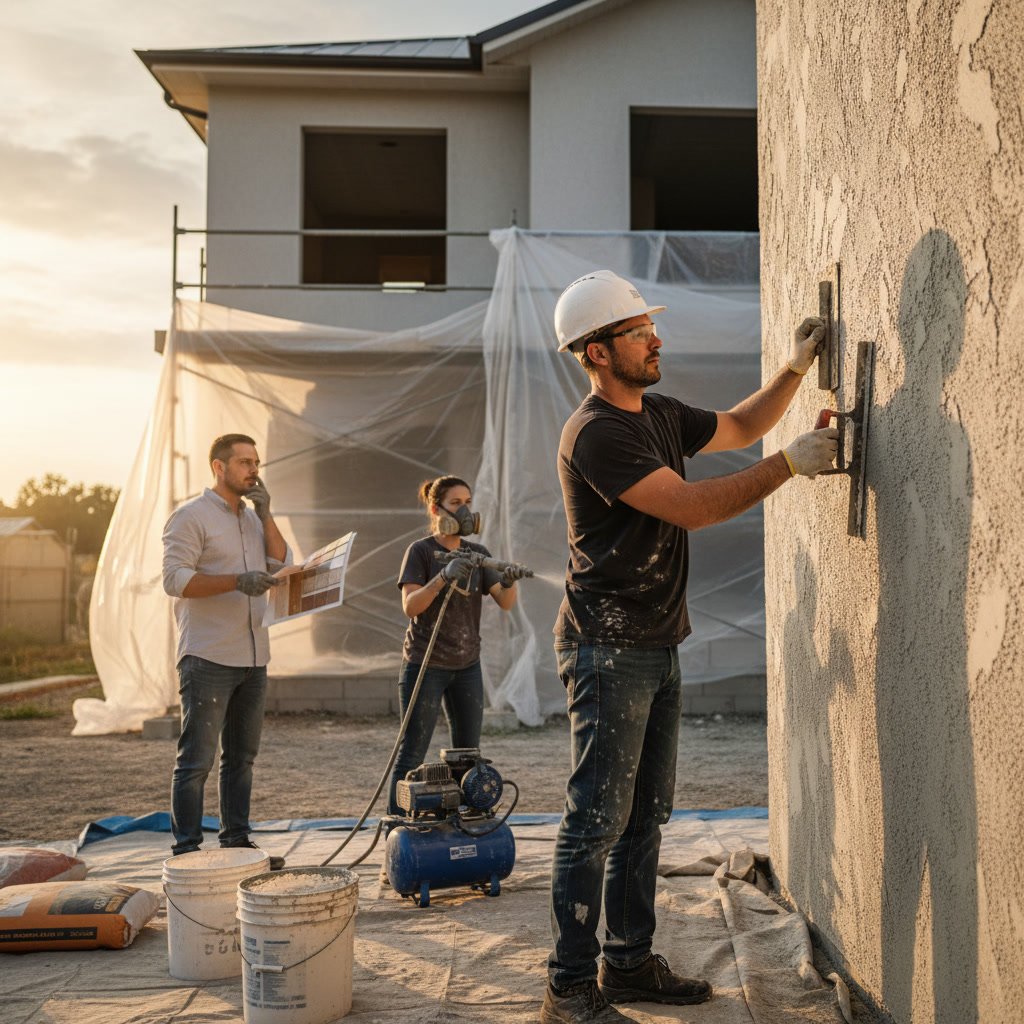
Exterior weatherproofing happens concurrently. Crews apply house wrap or a weather-resistive barrier over sheathing, then install windows and exterior doors with proper flashing to prevent water intrusion. Siding, stucco, or other exterior finishes follow, along with roofing materials. This phase creates the building envelope that protects interior finishes from moisture and temperature fluctuations.
Drywall Installation and Interior Finishes
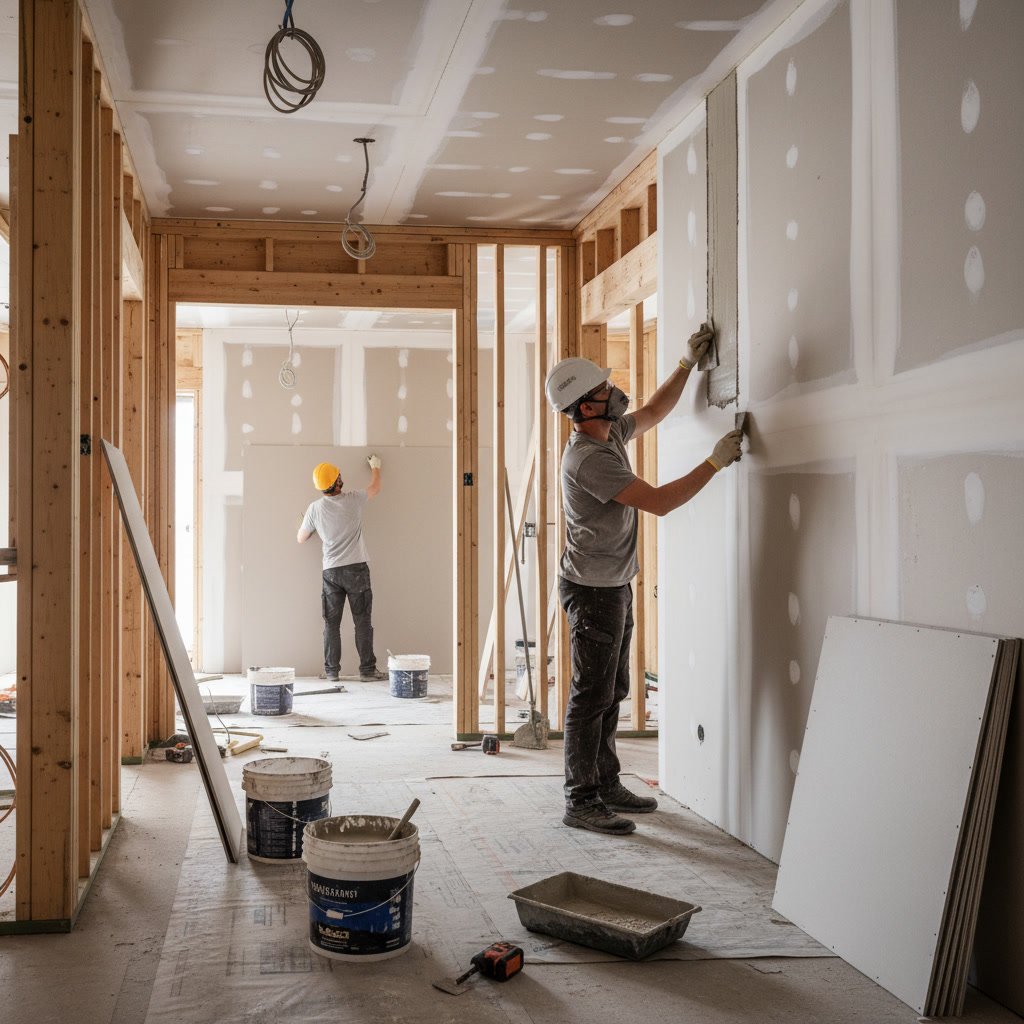
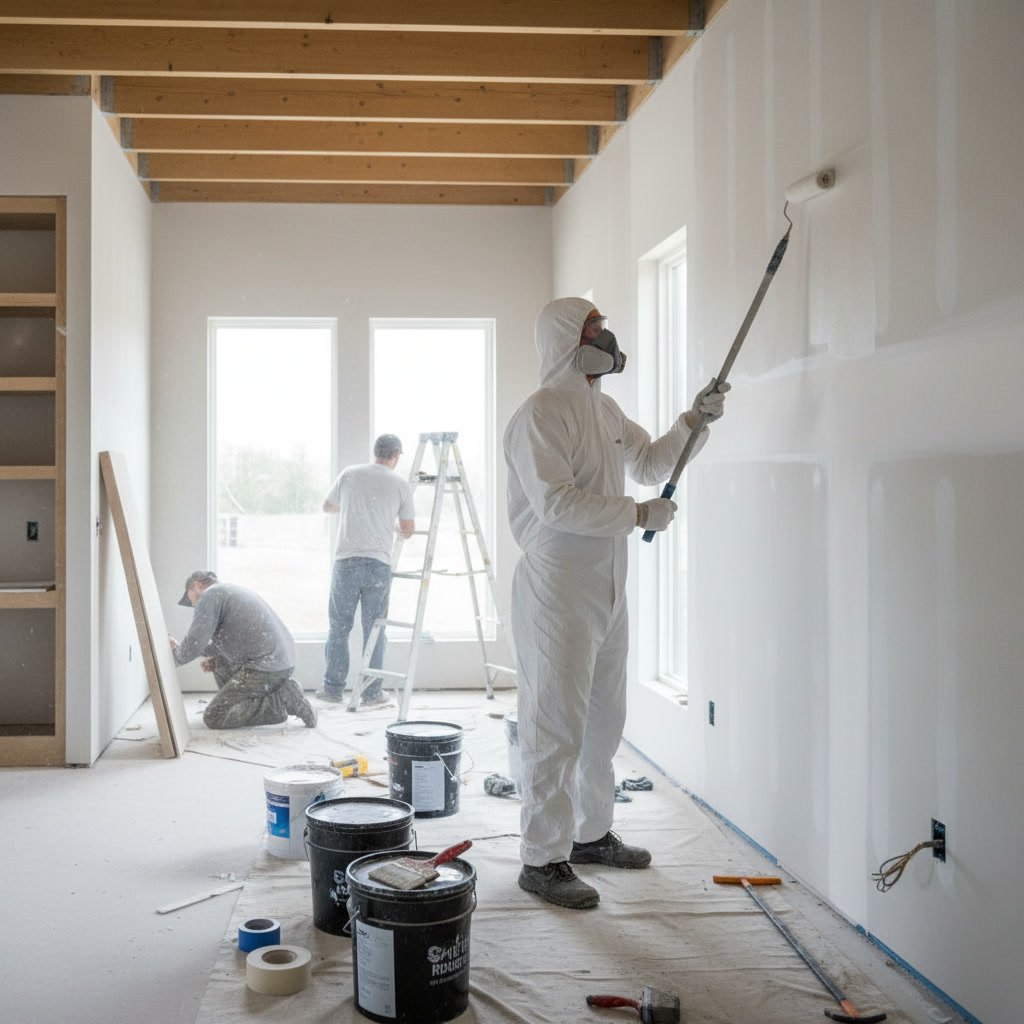
With insulation and exterior work complete, drywall crews hang sheets on interior walls and ceilings, tape seams, and apply multiple coats of joint compound. After sanding smooth, walls are ready for primer and paint. Interior trim carpentry follows, including door casings, baseboards, window trim, and crown molding where specified.
Flooring installation varies by material but typically happens after most finish work to avoid damage. Tile work in bathrooms and kitchens requires waterproofing membranes and careful substrate preparation. Hardwood or engineered flooring goes down after cabinets are installed to avoid waste and simplify layout. Carpet installation usually occurs last since it shows traffic marks and damage easily during construction.
Cabinet and Countertop Installation
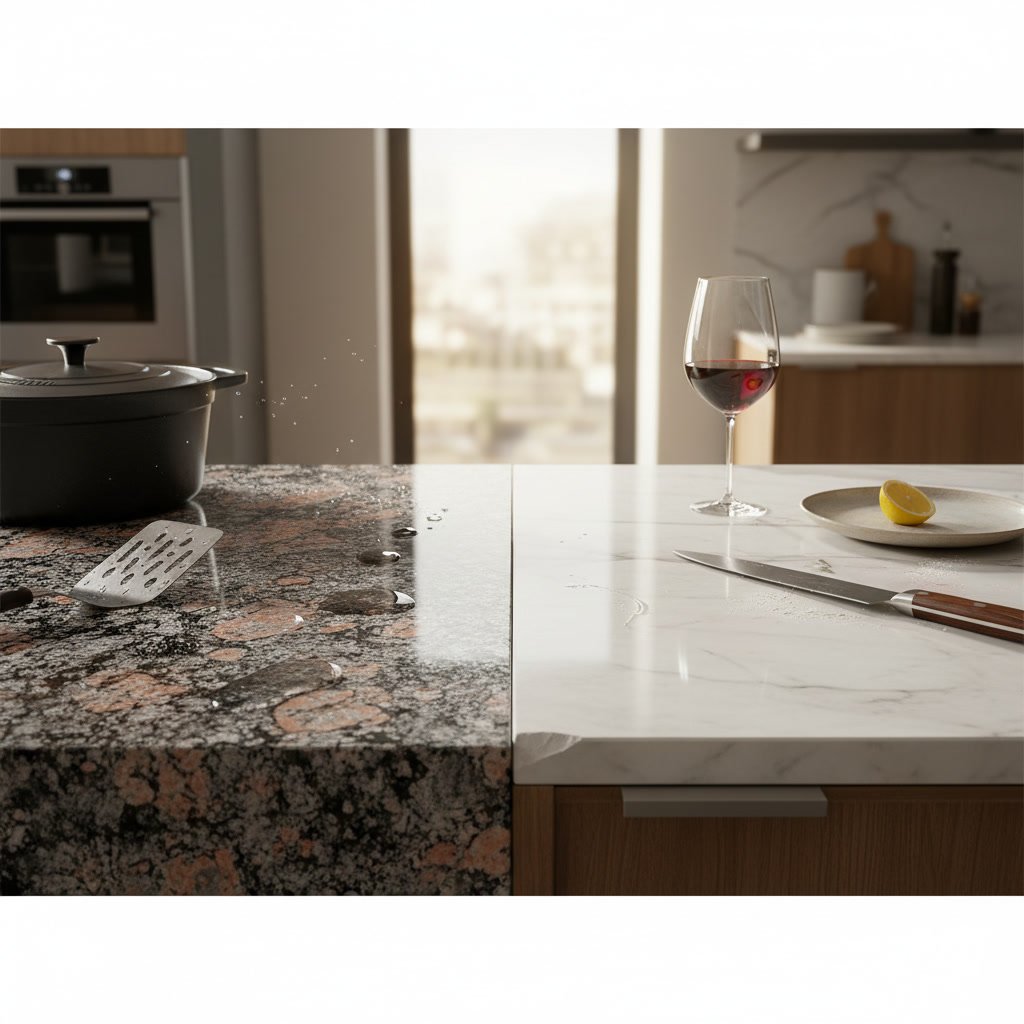
Kitchen and bathroom cabinets anchor to wall studs using heavy-duty screws, with installers checking level and plumb at every step. Base cabinets must sit level for countertop installation, while upper cabinets require consistent spacing and secure attachment. Once cabinets are in place, fabricators template and install countertops, whether laminate, solid surface, quartz, or natural stone.
Marble and granite countertops require precise measurements and professional installation due to weight and fragility. Seams should be minimal and well-matched, and cutouts for sinks and cooktops need exact placement. After countertops are set, plumbers return to install sinks, faucets, and connect supply lines and drains.
Finish Electrical and Plumbing Fixtures
Electricians return to install outlets, switches, light fixtures, and cover plates. They connect appliances, test circuits, and verify proper grounding. This phase includes hooking up the electrical panel, installing smoke and carbon monoxide detectors, and completing any low-voltage systems like doorbells or security panels.
Plumbers install toilets, faucets, showerheads, and other fixtures. They connect water supply lines, test for leaks, and verify proper drainage. Water heaters get connected and fired up, and pressure tests ensure the entire system operates without leaks or low flow issues. Final plumbing and electrical work happen in close succession since walls are closed and access is limited.
Painting and Final Details
Professional painters apply primer and finish coats to all interior walls, ceilings, and trim. Exterior painting or staining happens if the siding material requires it. Quality paint jobs require proper surface preparation, even coats, and attention to detail around trim, fixtures, and hardware.
Final details include installing door hardware, closet systems, mirrors, towel bars, and other accessories. Crews complete touch-up work, repair any minor damage from construction, and clean the home thoroughly. HVAC systems get final balancing, and all appliances are tested for proper operation.
Step-by-Step Final Inspections and Code Compliance
Building departments require multiple inspections throughout construction, with the final inspection being the most comprehensive. Inspectors verify that all work complies with approved plans and current building codes. They check structural elements, fire safety features, egress requirements, and accessibility standards where applicable.
Common final inspection items include proper operation of smoke detectors, correct GFCI outlet placement in kitchens and bathrooms, guardrail and handrail compliance on stairs, and proper venting for combustion appliances. Inspectors also verify that the address is posted, utilities are connected safely, and the property has adequate drainage away from the foundation.
If any items fail, the builder must correct them and schedule a re-inspection before the department will issue a certificate of occupancy. This certificate legally allows occupancy and signals that the building meets minimum safety and health standards. Most lenders require it before releasing final construction loan funds.
The Final Walkthrough and What to Look For
The final walkthrough happens after all inspections pass but before you take possession. This is your opportunity to identify any incomplete or defective work that needs correction. Walk through every room systematically, testing doors, windows, outlets, faucets, and appliances. Check paint quality, flooring installation, and trim work for gaps or damage.
Bring a checklist and take notes. Common issues include paint touch-ups needed, minor trim gaps, cabinet doors that need adjustment, or flooring scratches. Most builders provide a warranty period for defects, but catching problems during the walkthrough ensures they get addressed before you move in. Don’t hesitate to ask questions about maintenance, operation of systems, or warranty coverage during this final meeting.
Planning Your Project with Experienced Builders
Understanding each phase from site work through final inspection helps you participate actively in your residential construction project. The typical timeline spans several months, with each trade building on the work completed before it. Clear communication with your builder, realistic expectations about schedules, and attention to detail at each milestone lead to successful outcomes.
Murillo Construction Painting and Remodeling brings over 30 years of experience to every new construction project, coordinating trades, managing inspections, and delivering quality results from foundation to final walkthrough. Whether you’re building a custom home or adding new space to an existing property, working with experienced professionals ensures your project meets code requirements and your expectations.
If you’re ready to start planning your new construction project, reach out to discuss your timeline, budget, and design goals. Call +15106609596 to schedule a consultation and learn how we can bring your vision to life with the quality and attention to detail that comes from three decades of building experience.